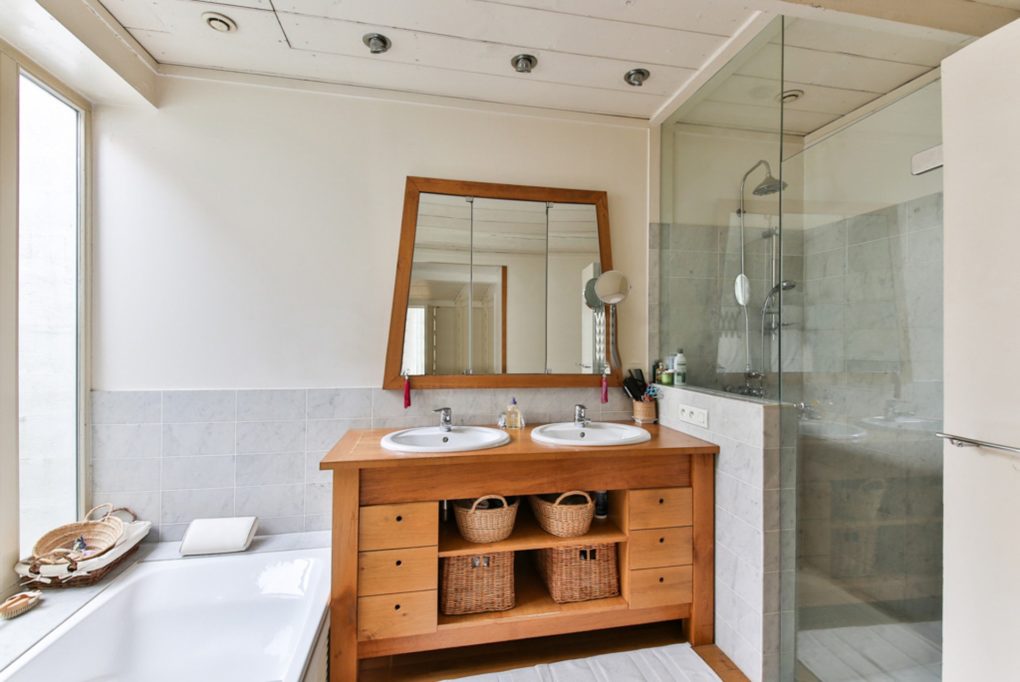
Have you just had a bathroom renovated? Congratulations! You’re likely very happy with the look, and are eager to get on with your life, which now includes a delightful place to get ready for the day or wind down before bed.
One thing you might have noticed, however, is the leftover dust and other particles that very likely have gathered on the grout, on your taps, and even in your vents, the occurrence of which can decrease the air quality in your bathroom. So, in the interest of keeping your newly renovated bathing space tidy as much as possible, both directly after the renovation and further on down the road, here are some handy DIY tips for after-renovation care:
1) Mop the floor. It might be tempting just to use a broom or long-handled ‘dust mop’ or even one of those ‘Swiffer’-like devices, but you’re likely to still leave bits of dust here and there. It might be easier, believe it or not, to use a more traditional mop that you dip in soapy water, even if it means you have to change the water often. A traditional mop will pick up more dust, and the dust, once in the water, can be disposed of.
2) Clean your vents with an industrial-level vacuum. Construction dust gets everywhere, and in the bathroom, it’s particularly troublesome, since bathrooms are a source of moisture. All you have to do is remove the vent covers and take an industrial-strength vacuum to the inside of the vents. We recommend an industrial-level vacuum because those meant for home use can easily be damaged. It’s also a good idea to change your air filters at the same time because you might otherwise keep cycling the construction dust through the system and back into the bathroom. If you find that cleaning your vents doesn’t work as you hoped, it may be time to change the vents.
3) Wash your walls using a handheld shower head. This is the one time where getting the walls and floor wet is truly a good thing. First, you’ll want to perform a preliminary wipe-down with pieces of kitchen roll (‘paper towels’ to the Statesiders living in the UK) or a wet cloth towel. The latter is more earth-friendly as you can rinse it out, but kitchen roll will do in a pinch. Next, take some soap, water and a sponge and wash your walls top to bottom. Use your hand-held shower head to rinse off the soap, using warm water.
4) Seal your grout. It’s likely you’re well-pleased with the new tile job in your bathroom, and it looks amazing after you’ve cleaned it. Sealing your new grout, however, protects against unwanted buildup of limescale, or worse, mould. Once you’ve gotten rid of the dust and grout haze, grab some grout sealer to keep your tile grout looking as clean and beautiful as the day the new tiles were placed. Many grout sealers for walls come in spray bottles for easy application on large areas. If you have a large bathroom, you might want to do it in sections so you don’t feel like you have to do it all at once.
5) Disinfect. Your walls and vents are cleaned, the grout is protected. What’s next? Time to disinfect your bathroom, paying special attention to things like the sink, tub, taps, windows and mirrors. But what to use? You can either keep using the same kind of cleaner you’ve always used, or you can use the renovation of your bathroom to make the switch to a more eco-friendly—and less expensive—option, such as the classic white vinegar and baking soda (aka bicarbonate of soda) mixture. It’s an especially good idea to do this on a day when you can open the windows and let fresh air come in. Finish off your disinfecting job with a cheery essential oil spray such as lemongrass, lemon, orange, tea tree or eucalyptus. If you favour a slightly warmer, but all-around guest-friendly scent, you can’t go wrong with vanilla to truly bring a sense of ‘home’ to your new bathroom.

 +44 20 3657 9687
 info@alcostaconstruction.co.uk


0 comments on “Easy DIY To Keep Your Bathroom Always Tidy” Add yours →